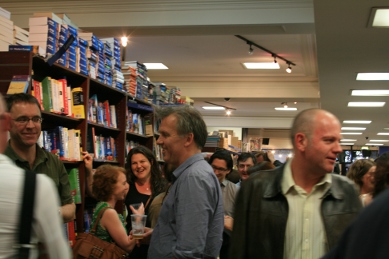
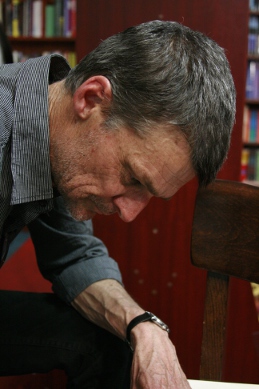
Photos by Hugh Wayland (with thanks)